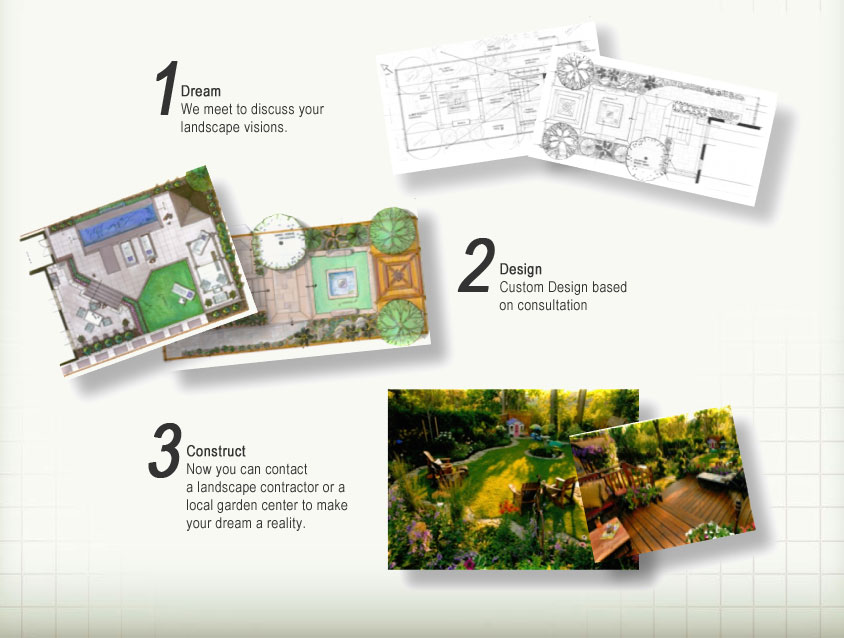
|
The design process is a collaboration between client and
Landscape Designer. Our designer carefully listens to the client and responds
to their needs. Consideration is given to the needs of each client's
personalized living spaces, integrating outdoor and indoor areas. Colour, views,
vistas, placement of plants and objects, sensory stimulation, and space planning
are all crucial elements for well-designed, usable, and enjoyable outdoor living
spaces.
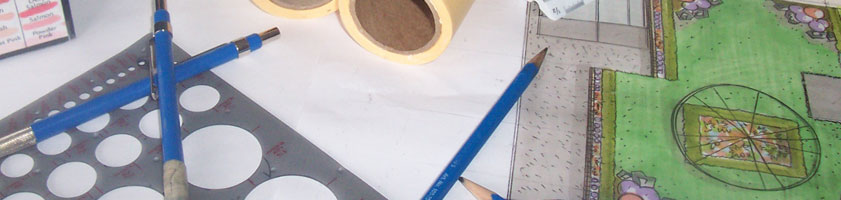
STEP 1: INITIAL CONSULTATION
It all begins with an on site consultation with a professional Landscape
Designer.
Our designer will tour your property with you wanting to hear your thoughts and
desires concerning your property. You may be asked to fill out a questionnaire
prior to this meeting to optimize your time together. Photos of landscapes you
like from magazines and garden books will be helpful. He will give you his
initial ideas and suggestions. This is the beginning of a collaborative effort
to develop a plan that fits your personal style and goals for your property. The
designer will explain the design process by showing you plans from other
projects. This "get to know you session" will help you decide if we're the
right landscape designer for you.
A few days after the consultation you will receive a summary of the meeting with
initial recommendations for your property and a contract for you to sign if you
decide to continue with the design process.

STEP 2: SITE ANALYSIS
The Landscape Designer takes on site measurements, photos and conducts a site
review analyzing your property for vistas to emphasize, unpleasant views to
screen, adverse conditions such as high winds or too much sun exposure, health
of existing plants, and soil conditions.
In addition, the designer will take into account the architecture and materials
used in and around your house in order to create a design that will achieve a
unified whole. This detailed analysis will enable the designer to build on the
strengths of your property, and look for ways to turn problems into assets.
STEP 3: CONCEPT PLAN
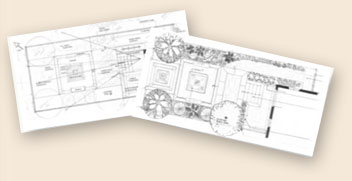 The
designer defines how spaces will be used on the property, and how they will
relate to one another. These are refined into one or more Concept Plans. The
designer defines how spaces will be used on the property, and how they will
relate to one another. These are refined into one or more Concept Plans.
A Concept Plan considers the general form and placement of features such as
paths, planting beds, patios, decks, and focal points. The designer will meet
with you to review the Concept Plan along with sketches and/or photos to help
illustrate the overall direction the design is taking.
At this time you can further discuss any ideas or preferences you may have with
your Landscape Designer. Revisions will be made to the plan as required.
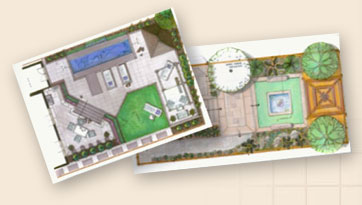 STEP
4: LANDSCAPE MASTER PLAN STEP
4: LANDSCAPE MASTER PLAN
Once the Concept Plan is approved, a Landscape Master Plan is hand drawn to
scale and colour rendered. This plan will show the placement of plantings and
hardscape, as well as a list of plant materials, sizes and quantities, and
specifications. The number of plants in each grouping, with botanical names, and
adequate spacing to allow for mature growth, are included in the scale drawing. To help you better visualize the finished design, you may wish to consider adding a computer rendered 3D design.
With a Landscape Master Plan in hand you now have a permanent design document for
future reference. You're ready to install the garden of your dreams and enjoy
your new outdoor space! You may decide to hire out all or some of the elements
of your project. With a master plan in place you can have contractors
competitively bid on your project ensuring you get the best price possible. Or
head to the garden centre with the knowledge of which plants to buy. The choice
is yours!
Keep in mind that your dream landscape does not need to be implemented all at
once. Installing in phases allows you to spread out the expenses and the amount
of time you commit to the project. The big picture provided by the Landscape
Plan will help you prioritize your project and budget.
|